Installation VAL3 server
Prerequisites
Staubli robot and CS9 controller with firmware version 8.x.x or higher.
Connect to the robot
Connect the
J204Ethernet port to the remote controller PC (ROS2-side)Setup your IP address as
192.168.0.1with mask255.255.255.0Make sure you can communicate with the robot at
192.168.0.254:
ping 192.168.0.254
Install required addons
In order to use the ROS2 driver, you will need the following addons :
motion
velocity
Note
The addons alter and advCtrlFunctions are also used, but they come shipped with the robot.
However, if the alter or advCtrlFunctions license are in demo mode, the code will stop working after 2 hours.
Although this should not be an issue for development and testing, you might want to get a full license from Staubli for long-term use.
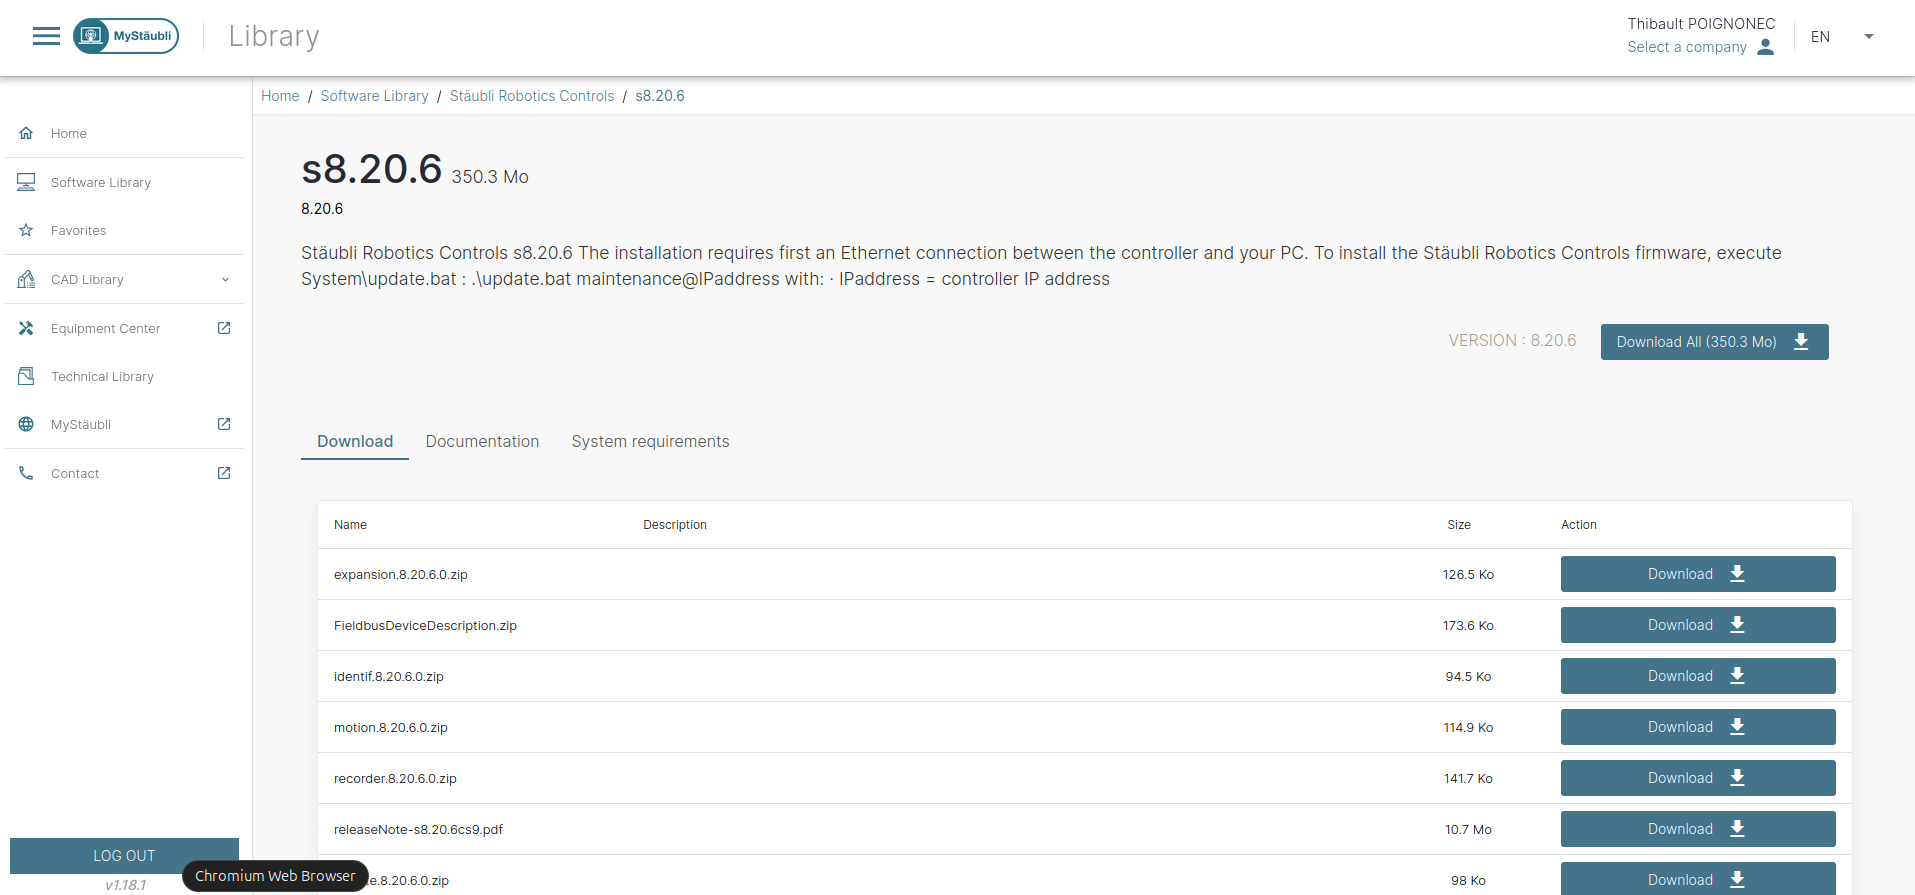
To install an addon, download the compiled library from the MyStaubli portal website:
Log in to your Staubli account.
Navigate to the
Software Download Center.Select your controller version in
Stäubli Robotics ControlsDownload the desired addon.
Then, copy the library (<addon>.so) to the /usr/app folder of the robot using FTP and reboot the robot controller.
Hint
By default, the usr/app folder does not exist. In that case, use FTP (e.g., FileZilla) to create the folder first.
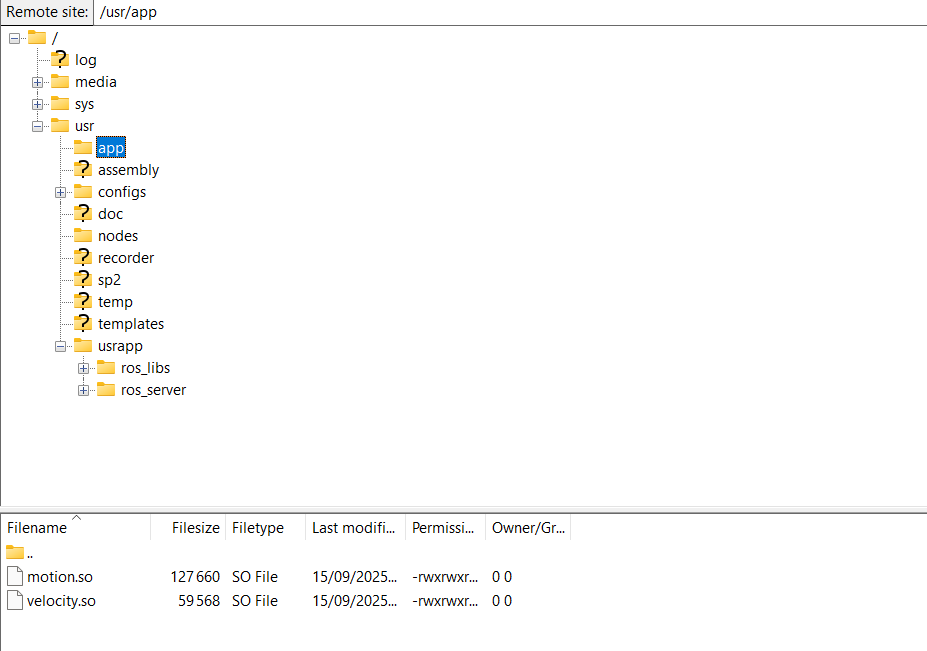
Fig. 3 If you use FileZilla, it should look like this once the addons are transferred.
Install VAL3 application
You can upload the VAL3 app to the robot controller using the provided script:
# Source Staubli driver ROS2 workspace
source install/setup.bash

# Upload VAL3 app to robot controller
ros2 run staubli_robot_driver upload_val3_server.py
Alternatively, you can transfer the application manually using an FTP client (e.g., FileZilla).
To do so, copy the content of the staubli_robot_driver/val3/userapp folder to the /usrapp folder on the robot controller.
Setup the sockets
From the robot pendant, create the necessary sockets:
Goto E/S > Socket
Select Socket UDP and press (+) to add the following sockets:
Socket type |
Socket name |
Timeout |
Fin de string |
Port |
IP remote |
|---|---|---|---|---|---|
UDP |
control |
-1 |
10 (linux) |
11000 |
192.168.0.1 |
UDP |
diagnostics |
-1 |
10 (linux) |
11001 |
192.168.0.1 |
Hint
If your PC, i.e., ROS2 driver-side, IP address is different than 192.168.0.1, change the IP remote field accordingly.